

Pre-Calibrated Replaceable Sensor Modules
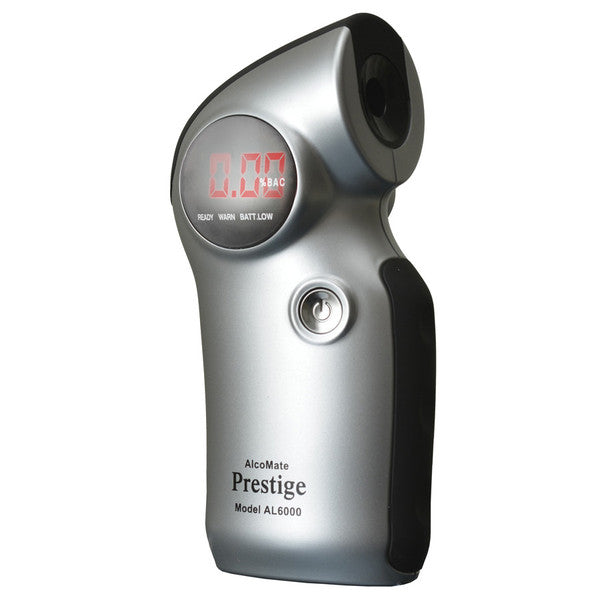
The AlcoMate® Premium breathalyzer combines professional reliability with extremely easy-to-use one-button operation.
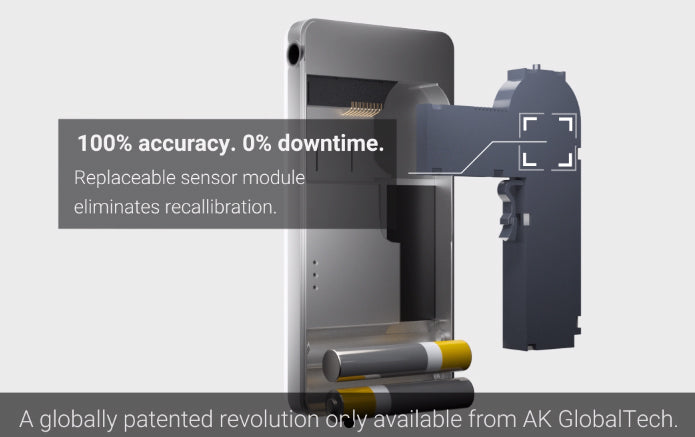


The Calibration Problem
Typical breathalyzers must be periodically re-calibrated by the manufacturer in order to maintain accurate readings.

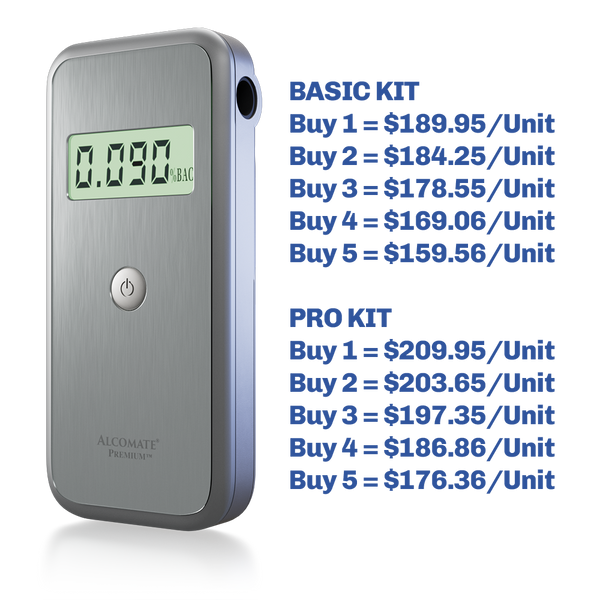

The AlcoMate® Premium breathalyzer combines professional reliability with extremely easy-to-use one-button operation.